
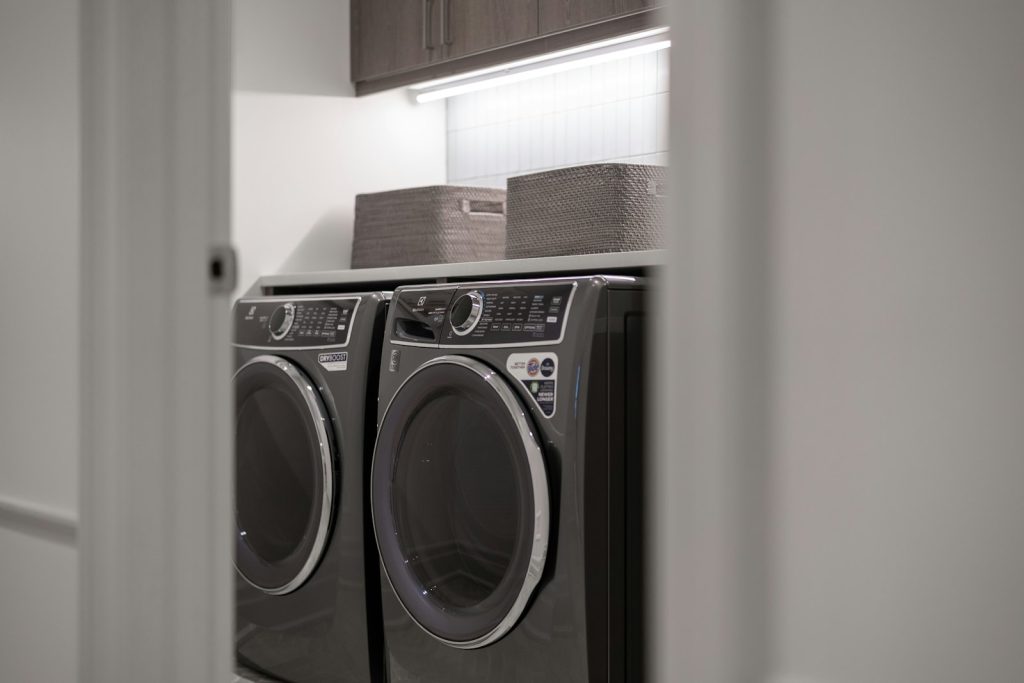
This guide covers Kitchenaid Dryer Installation & Setup with practical, technician-backed advice.
This guide covers Kitchenaid Dryer Installation & with practical, technician-backed advice.
Installing a KitchenAid dryer requires matching the unit to your gas or electric hookup, routing rigid or semi-rigid exhaust ductwork to the outside (never flexible foil duct, which is a fire hazard), and confirming the outlet or gas line meets code — details that make even a same-brand replacement worth double-checking rather than assuming a straight swap.
Understanding the Kitchenaid Dryer Installation & Setup
Below, our specialists break down everything you need to know about the Kitchenaid Dryer Installation & Setup.
Understanding the Kitchenaid Dryer Installation &
Below, our specialists break down everything you need to know about the Kitchenaid Dryer Installation &.
Gas vs. Electric Hookup
Electric dryers need a dedicated 240V outlet, and older homes sometimes have 3-prong outlets that don’t match the 4-prong cords standard on newer models — an adapter isn’t a safe long-term fix, and the correct outlet configuration should be installed by a licensed electrician if needed. Gas dryers require a certified gas line connection and a leak test after installation, plus a flexible gas connector rated for dryer use. Confirm your existing hookup type before ordering a replacement, since converting from electric to gas (or vice versa) is a significantly bigger job than a like-for-like swap.
Exhaust Venting Is the Most Overlooked Step
Dryer exhaust should run through rigid or semi-rigid metal duct to the outside, kept as short and straight as possible. Long duct runs, too many 90-degree bends, or crushed flexible foil duct all reduce airflow, which not only lengthens drying time but is a documented fire risk from accumulated lint. If you’re moving a dryer to a new location during a laundry room remodel, venting distance and routing should be planned before the appliance itself.
Leveling and Stacking
Like washers, dryers need to sit level on all four feet to run quietly and avoid premature wear on the drum support. If you’re stacking the dryer on top of a washer, use a stacking kit rated for your specific washer and dryer models rather than an improvised bracket — an unsecured stacked dryer is a tip hazard. See our washer installation guide for the washer side of a stacked laundry setup.
What Affects Installation Cost
Installation pricing depends on whether the existing gas line or electrical outlet is code-compliant, how much new or replacement ductwork is needed, whether a stacking kit is required, and whether the old dryer needs to be disconnected and removed. Gas dryer installs generally run higher than electric due to the certified connection and leak test requirement.
Common Setup Mistakes to Avoid
The most frequent dryer installation mistakes are using flexible foil duct instead of rigid metal, failing to clean out old lint from existing ductwork before connecting a new unit, and skipping the leak test on gas models. Each of these is a fire or safety issue rather than just a performance one, which is why professional installation is worth it even for an otherwise simple swap.
When to Call a Specialist
Any gas connection or new electrical circuit should go to a licensed technician, and even electric replacements benefit from a professional check of the exhaust venting, since duct condition degrades over years of lint accumulation that isn’t visible from the laundry room side. For current KitchenAid dryer specifications, visit KitchenAid’s official site.
Post-Installation Maintenance to Plan For
Even a correctly installed dryer needs its exhaust duct cleared of lint buildup periodically, since lint accumulates inside the duct itself over time regardless of how clean you keep the lint trap. Scheduling a duct cleaning every one to two years, depending on usage, keeps the same airflow performance you had on day one and reduces long-term fire risk.
Ventless and Heat Pump Dryers
Not every KitchenAid dryer vents to the outside — heat pump and ventless models recirculate air through a condenser system instead, which changes the installation requirements entirely by removing the need for exterior ductwork but adding a condensate drain or reservoir to manage. Confirm which type you’re installing before assuming standard venting rules apply.