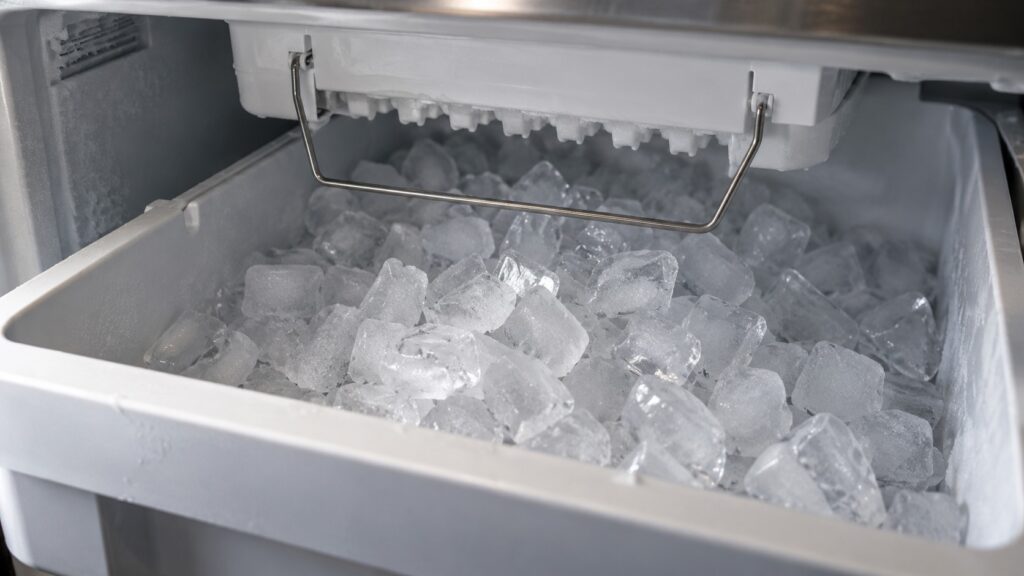
When cubes pile up above the wire shut off arm in a KitchenAid freezer, the arm can no longer drop down, so the ice maker believes the bin is full and stops making ice. The fix is almost never a part. Switch the ice maker off, empty the bin, break up the clump that is holding the arm up, and find out why the cubes stuck together. On most KitchenAid refrigerators with a wire arm, that takes about twenty minutes and no tools.
What does the KitchenAid ice maker shut off arm do?
The thin wire loop at the front of the ice maker is a bin sensor, and it is a very simple one. The ice maker makes a batch, harvests it into the bin below, and then the arm swings down to check the level. If there is room, it lets the next batch begin. If the pile of ice holds the arm up, the machine stops until you or the dispenser removes some ice.
That design is why one stuck mound can shut the whole thing down. The arm cannot tell the difference between a bin that is truly full and a bin with a single frozen bridge of cubes wedged under it. Both look like a raised arm.
Not every KitchenAid refrigerator uses a wire arm. Some newer models read the bin level with a sensor inside the ice maker instead, and the steps below about the arm do not apply to them. If you cannot find a wire loop in the freezer, your model works differently, and our guide to an ice maker that is not making ice is the better place to start.
Why do ice cubes pile up above the shut off arm?
Ice in a freezer bin does not stay perfectly dry. Every defrost cycle warms the freezer slightly, and every time the door opens humid air gets in. A thin film of meltwater forms on the cubes, and when the temperature drops again it freezes them together. A bin that sits unused for a week or two, for example during a vacation or when a household uses the dispenser rarely, turns into a solid block much faster than a bin that is emptied daily.
These are the usual reasons cubes bridge above the arm:
- Infrequent use. Old ice clumps. A busy bin rotates its ice before it can fuse.
- A door that does not seal. Warm, humid air entering the freezer causes more melting and refreezing. Check the gasket and make sure nothing in the freezer holds the door open a crack.
- A freezer set too warm. Ice that sits near the freezing point softens and bonds. Keep the freezer cold enough that ice stays dry and loose.
- Too much water in the tray. A fill that runs long leaves frozen spillover that glues cubes to each other and to the arm.
- A bin that is not seated correctly. If the bin sits crooked, cubes pile at one end of the tray and prop the arm up.
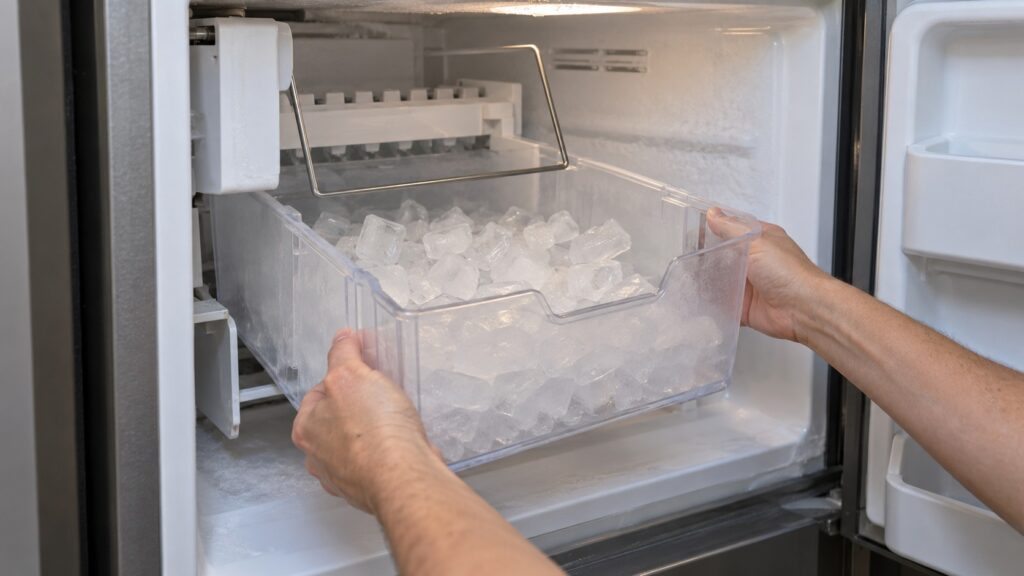
How do you clear the jam safely?
Work with the ice maker off and give yourself a dry towel and a shallow bowl.
- Turn the ice maker off. Lift the wire arm to the raised position, or use the ice maker switch or the control on your model. This stops a new batch from dropping into your hands.
- Take out the bin. Lift it gently and carry it to the sink. Tip the loose ice into the sink or a bowl.
- Thaw the clump. Leave a frozen block in the sink and let room-temperature water run over it until it breaks apart. Do not chip at it with a metal tool.
- Clear the space above the arm. Reach in and remove any cubes stuck in the corner or against the ice maker housing. Use only your hands. If a cube is frozen to the housing, wait a few minutes for the freezer air to loosen it or melt it with a cloth wrung out in warm water.
- Wipe and dry. Dry the bin and the area under the ice maker so that nothing refreezes into a new bridge.
- Replace the bin fully, then lower the arm. The bin should sit flat and square. Lower the arm to the on position and confirm it swings freely without catching on anything.
Keep your hands away from the ice maker mechanism itself. The motor, the heater that releases the cubes and the water fill tube are all in that housing, and none of them are meant to be pried or scraped. If anything looks cracked or frozen solid in the housing, stop there.
How do you stop the ice from piling up again?
A few habits keep the arm moving freely:
- Empty and shake the bin every couple of weeks if the household does not use much ice, or throw out the old ice and let the machine make a fresh batch.
- Keep the freezer at a steady cold setting. Our guide to maintaining your KitchenAid ice maker covers the care routine that keeps ice dry and loose.
- Do not stuff the freezer so full that food presses against the bin or blocks the cold air.
- Replace the water filter on schedule. A clogged filter slows the fill and can leave an uneven, half-frozen tray.
Is the problem the arm or the water fill?
If you clear the bin and the ice maker restarts normally, the arm was only blocked and you can stop there. If cubes keep fusing together or the tray comes out as one frozen sheet, the problem is probably the water fill instead of the arm. Common signs are ice with a thick frozen puddle underneath, cubes that are smaller and hollow on some batches and huge on others, or a fill tube that has iced over at the back of the freezer.
A fill valve that dribbles after it should have shut, or low incoming water pressure that makes the fill run long, leaves exactly that kind of mess. Neither is something to fix with a hair dryer or a screwdriver, because the valve and the wiring behind it sit close to mains power and the water supply. A technician can test the valve, check the water line and confirm the freezer is holding temperature. If the freezer is warm, the ice maker is a symptom rather than the cause, and a look at why a KitchenAid refrigerator is not cooling comes first.
When should you call a technician?
Call when the arm is clear and free but the ice maker still will not start, when ice keeps fusing into blocks within a week, when water pools in the bin or freezes around the housing, or when the arm itself is bent, cracked or will not return to its position. Our KitchenAid refrigerator repair technicians test the fill valve, the heater and the temperature control in one visit. We are an independent repair company, not a factory service arm, and we will tell you when a repair is not worth doing. When you are ready, book a visit and tell us what the arm and the bin look like.