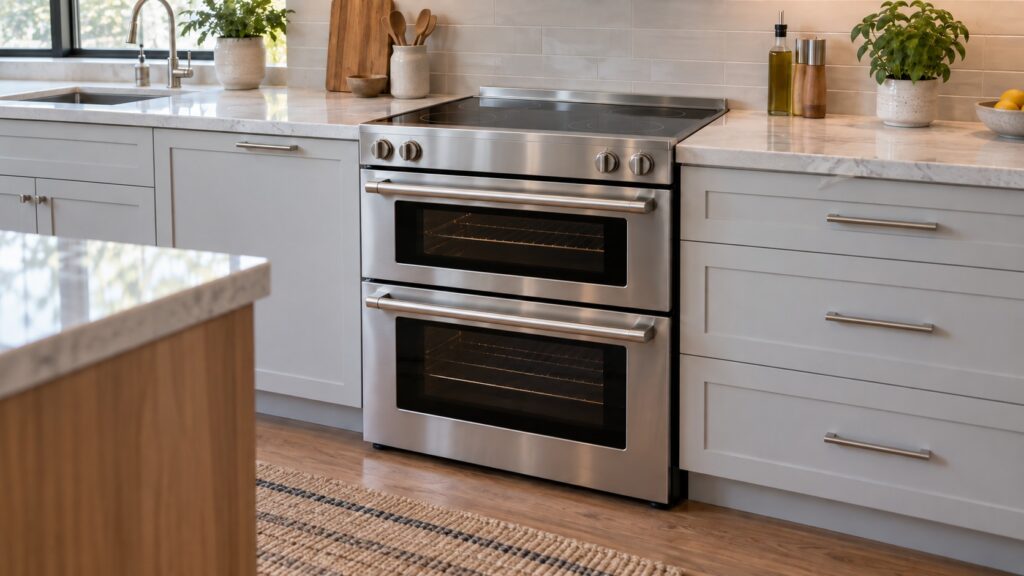
TL;DR: The KitchenAid KFID500ESS is a 30-inch freestanding induction double-oven range, and a KitchenAid KFID500ESS installation is mostly an electrical and placement job. It needs a dedicated 240-volt circuit sized to the rating plate and the installation sheet, an anti-tip bracket screwed down before the range is pushed home, a level stance, and clearances that let the cooktop and both ovens breathe. There is no gas line. Have a licensed electrician handle the circuit and the cord.
What does the KitchenAid KFID500ESS need before it arrives?
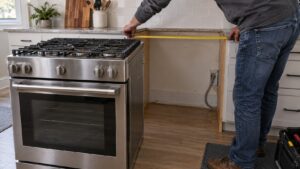
Get three things settled before delivery day: the circuit, the opening and the path. The KFID500ESS is a full-size range with two ovens and a cooktop that can draw a great deal of power at once, so it behaves like a major electrical appliance and not like a plug-in countertop unit. Measure the doorway and the route from the entrance to the kitchen as well, because a stainless double-oven range is heavy and awkward to turn in a hallway.
Look at the existing opening. A freestanding range sits between base cabinets with its finished sides exposed, so the floor under it should be hard, flat and strong enough to carry the weight. Soft vinyl or a floor that dips toward the wall will make leveling harder. If the range is replacing an older unit, check the wall behind it and the outlet location before you commit to a date.
What electrical supply does an induction double-oven range require?
This range runs on 240 volts, and the circuit should be dedicated to it, with nothing else sharing the breaker. The exact breaker size, the cord or cable type and the wiring arrangement are printed on the rating plate and in the installation instructions that come with the range, and those documents always take priority over general advice. Older homes sometimes have a three-wire range outlet where a modern appliance expects four wires, and swapping that is electrician’s work, not a weekend fix.
- Dedicated circuit: no other appliance on the same breaker.
- Correct receptacle and cord: matched to the wiring in the wall and to the instructions.
- Power off while connecting: turn the breaker off and confirm the outlet is dead before touching anything.
- No gas work: induction cooks with an electromagnetic field, so the gas line, if one exists in the old location, should be capped and left to a professional.
Because the induction elements reach up to 3,700 watts, a loose connection at the outlet is a heat problem waiting to happen. A snug, correctly rated connection is the single most valuable thing about this part of the job.
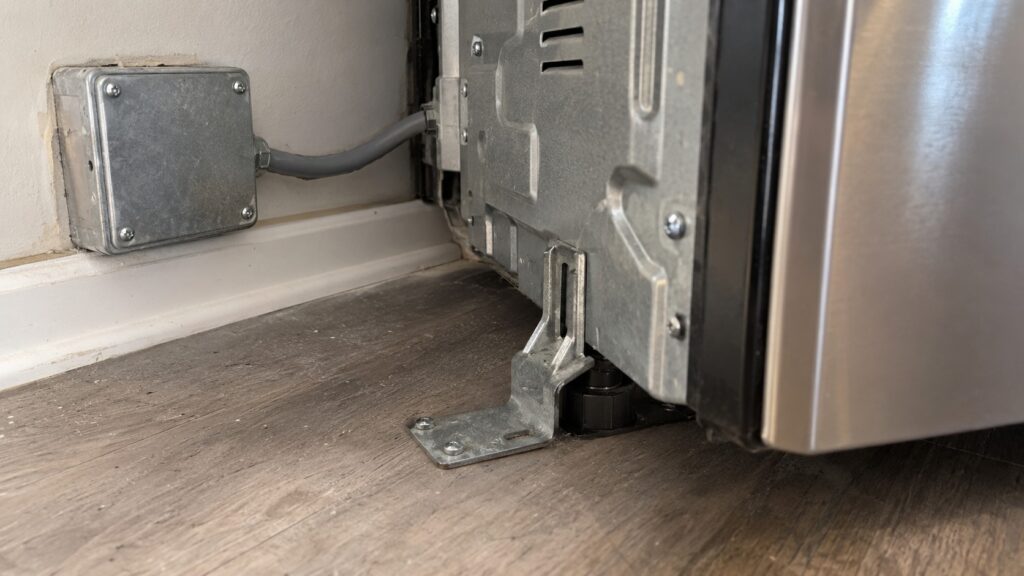
Why is the anti-tip bracket not optional?
A freestanding range can tip forward if a heavy load sits on an open oven door, for instance a full roasting pan on the lowered lower-oven door, or a child climbing on it. The anti-tip bracket is a small plate that catches the rear leveling leg and stops the range from rotating forward. It matters more on a double-oven range because the lower door is large and low, and a lot of weight can land on it.
Fasten the bracket to the floor or wall, as the instructions show, before you slide the range into place, then confirm after installation that the leg is actually engaged in it. A bracket that is installed but not engaged does nothing. Check it again whenever the range is pulled out for cleaning or service, because it is the step most often forgotten when the range is pushed back.
How do you level the range and set the clearances?
Once the range is in the opening, put a level on an oven rack and on the cooktop and adjust the feet until both read flat. A range that leans makes batter, fat and sauces pool on one side, and it makes the oven doors close unevenly. After leveling, open both doors and check that they swing and seal freely without catching on neighboring cabinets.
Respect the clearances in the instructions for the sides, the back and the space above the cooktop. Induction itself stays cool at the surface, but the ovens give off real heat, and cabinets above or beside them need the specified margin. The area above the range is also where the ventilation goes; our range hood duct sizing guide covers how to size that so cooking air actually leaves the room.
What should you check on the first day of use?
Run through a short checklist before you cook a real meal:
- Remove packing material from both ovens and from the cooktop surface.
- Confirm the display lights and the clock can be set.
- Place a magnetic pan on an element and check that it heats; induction ignores glass, aluminum and copper pans unless they have a magnetic base. The steps in how induction cooktops work explain why.
- Run each oven briefly empty to burn off factory residue, with a window open, and listen for a steady convection fan.
- Watch the display for any fault code during the first cycles. A code on day one is easier to sort out while the installer is still there.
Our range installation and setup guide covers the general steps for any KitchenAid range, and KitchenAid range repair is there if something misbehaves after the install. If a relay code ever appears, see the guide to the F7 E1 stuck bake element relay. To have us look at an installation that does not seem right, schedule a visit.